

Build a PVC Cat Enclosure: Weekend DIY Guide

A safe, weather-resistant PVC cat enclosure is well within reach for most DIYers, and you can have a functional outdoor catio standing in a single weekend. The basic frame takes 4–6 hours to assemble, and a finished build with mesh and platforms typically runs $200–$400 depending on your mesh choice and how many perches you add.
Here’s what you’ll be working with:
Pipe: 1" or 3/4" furniture-grade or Schedule-40 PVC (1/2" works for small, low-risk builds)
Fittings: 3-way elbows, T-connectors, 90° elbows, and end caps
Mesh: Welded wire, hardware cloth, or plastic poultry netting
Fasteners: 100–300 zip ties, screws for platforms, tent stakes or deck anchors
Assembly method: Dry-fit with snap clamps (modular) or solvent-welded (permanent)
The total time, including mesh attachment and platforms, runs closer to two days. Budget builds using plastic poultry netting land at the lower end of that cost range; predator-proof hardware cloth pushes toward the top.
Key Takeaways
A PVC cat enclosure built with furniture-grade fittings, welded wire mesh, and snap clamps gives you a predator-resistant, modular outdoor catio for $200–$400 in a single weekend.
Point | Details |
Build time and cost | Basic frame takes 4–6 hours; full build with mesh and platforms runs $200–$400. |
Mesh choice is critical | Use welded wire or hardware cloth where predators or dogs are present; plastic netting suits low-risk yards only. |
Verticality over floor area | Three staggered platforms serve cats better than a larger footprint with no height. |
Dry-fit before fastening | Always assemble the full frame without glue first to confirm square and fit. |
Circo Innovations fittings | Furniture-grade fittings and snap clamps from Circo Innovations give tighter joints and modular disassembly for seasonal storage. |
Table of Contents
What goes into a PVC cat enclosure: full materials and tools list
Pipe and fittings
For a structure that holds its shape outdoors, 1" Schedule-40 or furniture-grade PVC is the standard choice. Furniture-grade fittings produce tighter joints with less play than generic plumbing connectors, which matters when you’re spanning several feet of open frame. You’ll need:
3-way corner elbows for all eight frame corners
T-fittings for mid-span horizontal connections and door frame junctions
90° elbows for any top-rail turns
End caps for every exposed pipe end (smooth caps prevent scratches and keep insects out)
Snap clamps if you want modular, disassemble-and-store construction
For a 7’ x 5’ x 3’ build, plan on roughly 8 three-way fittings and 24 T-fittings as a starting point. Scale those counts up proportionally for larger footprints.
Mesh options and trade-offs
Plastic garden fencing is lightweight and easy to attach but is not predator-proof; use welded wire or hardware cloth if you have wildlife, coyotes, or loose dogs in your area. A quick comparison:
Plastic poultry netting (1" hex): Cheapest option, fine for low-risk suburban yards, but tears under sustained pressure. One roll of 36" x 50’ covers most small builds.
Welded wire / hardware cloth (1/2" or 1" openings, 16–19 gauge): Predator-resistant, holds its shape, and lasts years longer. Heavier, so your frame needs solid anchoring.
Pet-safe nylon netting: Lightweight and UV-resistant, good for a covered porch or deck build where predator risk is low.
Tools
Required: PVC cutter or hacksaw, tape measure, marker, zip ties, screwdriver, level.
Optional but helpful: Power miter saw (cleaner cuts on long runs), drill (for platform screws), rivet gun (for hardware cloth edges), rubber mallet (to seat fittings).
Pro Tip: Deburr every cut end with a utility knife or sandpaper before assembly. Rough edges catch mesh and can scratch cats.
Measured example: 7’ L x 5’ H x 3’ W with a full cut list
This build is sized for one to two cats and fits most backyard spots without requiring a permit. The parts list below draws from a real-world example using Schedule-40 pipe and poultry netting.
Cut list (1" Schedule-40 or furniture-grade PVC)
Member | Length | Qty | Notes |
Floor rails (length) | 7’ | 2 | Front and back bottom |
Floor rails (width) | 3’ | 3 | Two ends + center support |
Uprights | 5’ | 4 | Corner verticals |
Top rails (length) | 7’ | 2 | Front and back top |
Top rails (width) | 3’ | 3 | Two ends + center top |
Door frame uprights | 5’ | 2 | Flanking the door opening |
Door frame header | 2’ | 1 | Top of door opening |
Cross-bracing (mid-span) | 3’ | 2 | Horizontal mid-height braces |
Parts count
Part | Qty |
3-way corner elbows | 8 |
T-fittings | 24 |
90° elbows | 4 |
Smooth end caps | All exposed ends |
Zip ties | 150–200 |
Poultry netting (36" x 50’ roll) | 1 |
Tent stakes or deck anchors | 4–6 |
Scaling note: When any horizontal span exceeds 4–5 feet, add a center T-fitting (Slip Tee for less cutting) and a mid-span horizontal brace to prevent sag. Longer walls need middle Ts planned into the cut list from the start — retrofitting them after assembly is awkward. For a 10’ run, add one center upright and split the horizontal members accordingly.
How to assemble the frame, mesh, platforms, and door
The standard build sequence runs: plan, frame, platforms, mesh, finish, install. Follow it in that order and you’ll avoid the most common rework.
Dry-fit the floor rectangle first. Lay all four floor rails and corner fittings on a flat surface. Check for square by measuring diagonals — they should match within 1/4". Adjust before adding uprights.
Add the four corner uprights. Push them into the floor corner fittings, then cap with the top-rail assembly. Keep everything hand-tight; don’t glue yet.
Install mid-span bracing. Slide T-fittings onto the long horizontal rails at the midpoint and insert the cross-brace pipes. This is the step most first-timers skip, and it’s why some catios wobble.
Use Self Tapping Screws to hold Fittings and Pipe Together. Self Tapping Screws let you disassemble for winter storage, which is worth it in cold climates. Solvent welding is permanent and slightly more rigid — use it only if you intend this project to be completely permanent.
Build the door frame. Frame a rectangular opening using two uprights and a header T-fitting. A simple zip-tie mesh flap works for a first build; a hinged door with a barrel-bolt latch is more secure and worth the extra hour.
Attach mesh to the frame. Start at one wall, pull the mesh taut, and Snap Clamp every 4–6 inches along each pipe. Overlap mesh sections by at least 2 inches and zip-tie the seam. For the roof panel, fold the mesh over the top rails and secure it on both sides.
Add platforms and perches. Cut composite wood or scrap boards to span two horizontal cross-pipes. Drill through the board and screw it to a clamp or saddle fitting on the pipe. Stagger platforms at different heights — cats use vertical space more than floor area, so two or three levels matter more than a bigger footprint.
Cap all exposed pipe ends. Every open end gets a smooth cap. No exceptions.
Anchor the structure. Drive tent stakes through the floor rail loops or use lag bolts if you’re attaching to a deck. Test lateral stability by pushing firmly on each wall before any cat goes inside.
Pro Tip: Build the door opening 2–3 inches wider than you think you need. Fittings add bulk, and a tight door frame is the most common fit problem on first builds.
Safety checklist and seasonal maintenance
Before your cat uses the enclosure, run through this list:
No sharp wire ends or cut pipe edges exposed
Every pipe end capped with a smooth fitting
Mesh secured with no gaps larger than 1" anywhere (check corners and seams)
Door latch tested from both sides
Roof mesh attached — open-top enclosures are only safe where aerial predators are absent
Structure anchored and stable under lateral pressure
Welded wire or hardware cloth is the right call for any yard with wildlife or large dogs. Plastic poultry netting is acceptable in low-risk suburban settings but should be reinforced at all edges and seams.
Seasonal upkeep
Inspect Snap Clamps every spring. UV exposure can degrade standard Snap Clamps in 12–18 months outdoors. Check all fittings for cracks after a hard freeze. Wipe platforms down monthly and pull them out for a full wash seasonally. PVC itself needs almost no maintenance — no sanding, no repainting — which is one of its real advantages over untreated wood frames.
How much does it cost, and how long does it take?
Time estimates
Phase | Time |
Frame assembly (cutting, dry-fit + fasten) | 4–6 hours |
Mesh attachment | 1–3 hours |
Platforms, door, and finishing | 3–5 hours (add a second day) |
Cost ranges
Budget build (plastic poultry netting, basic fittings): $150–$250
Mid-range build (welded wire, furniture-grade fittings, composite platforms): $250–$400
Predator-proof build (hardware cloth, snap clamps, hinged door, anchoring hardware): $350–$500+
Mesh is where cost swings most. Hardware cloth costs roughly three to four times more per square foot than plastic poultry netting, but it lasts far longer and doesn’t require replacement after a determined raccoon tests it.
Sizing by use case
Single cat, small yard: A 4’ x 4’ x 6’ vertical layout with two or three platforms gives one cat plenty of enrichment without a large footprint.
Multiple cats: Go wider and add platforms rather than just expanding floor area. A 7’ x 5’ x 3’ base with three staggered platforms comfortably serves two to three cats.
Deck-mounted: Use a lean-to configuration against a wall or railing, with lag bolts into the deck frame. This eliminates ground anchoring and keeps the structure stable in wind.
Why furniture-grade fittings make a better catio frame
Generic plumbing fittings are designed for water pressure, not structural load. Furniture-grade PVC fittings, by contrast, are machined to tighter tolerances, which means less play at every joint. On a 7-foot span, that difference shows up as a noticeably stiffer frame that doesn’t rack or wobble when a cat jumps against the wall.
Circo Innovations furniture-grade PVC fittings map directly to the example cut list:
3-way elbows for all eight frame corners
T-fittings for mid-span bracing and door frame junctions
Snap clamps for modular, no-glue assembly that you can disassemble the mesh easily for winter storage or even use these to open and close certain areas easily
Smooth end caps and flat-top caps for every exposed pipe end
The snap-clamp system is worth calling out specifically. It grips the pipe without adhesive, holds firmly under normal structural load, and releases cleanly when you want to reconfigure or store the enclosure. For anyone in a climate with hard winters, that alone justifies the upgrade from standard plumbing fittings.
Feature | Generic plumbing fittings | Furniture-grade fittings (Circo innovations) |
Joint tolerance | Loose, designed for pipe sealing | Tight, designed for structural load |
Assembly method | Solvent weld (permanent) | Self Tapping Screws or dry-fit (modular) |
Disassembly | Not practical | Clean, seasonal storage possible |
Finish | White or Gray | Clean, consistent finish color options |
Predator resistance | Lower (more joint flex) | Higher (stiffer frame) |
How to pick the right spot and prepare the site
Location shapes how much your cat actually uses the enclosure. A spot that gets direct sun all afternoon in July will sit empty; one with morning sun and afternoon shade gets used year-round.
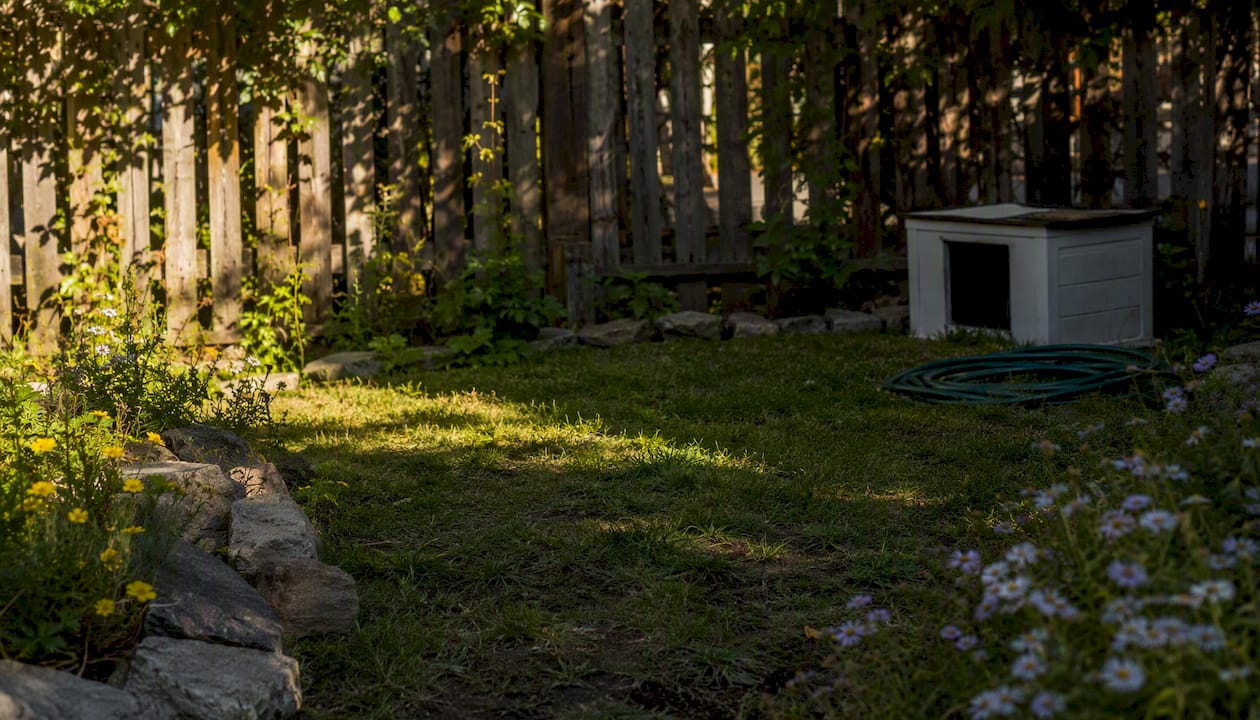
Aim for a location that gets 3–4 hours of morning sun and has natural shade by early afternoon, either from a tree, a fence, or the house itself. If shade isn’t available, plan a solid or mesh roof panel on the south-facing side and add a small shelter box inside where cats can retreat.
Ground prep matters more than most builders expect. Clear the footprint of rocks and roots, level the ground within about an inch, and lay a weed barrier or gravel base if the enclosure will sit in one place permanently. A level base keeps the frame square and prevents low spots where water pools under platforms. For deck-mounted builds, check that the deck boards are sound before lag-bolting into them.
Keep the enclosure within sight of a door or window your cat already uses. Cats are more likely to use an outdoor space they can access independently, and you’ll be more likely to notice if something is wrong. Avoid placing it directly under a large tree with overhanging branches — squirrels and raccoons use those as bridges.
Designing for cat behavior: multiple cats and escape prevention
Cats don’t share space the way dogs do. In a multi-cat enclosure, every cat needs at least one platform where it can be alone and elevated. Without that, the dominant cat claims the highest perch and the others stop using the space.
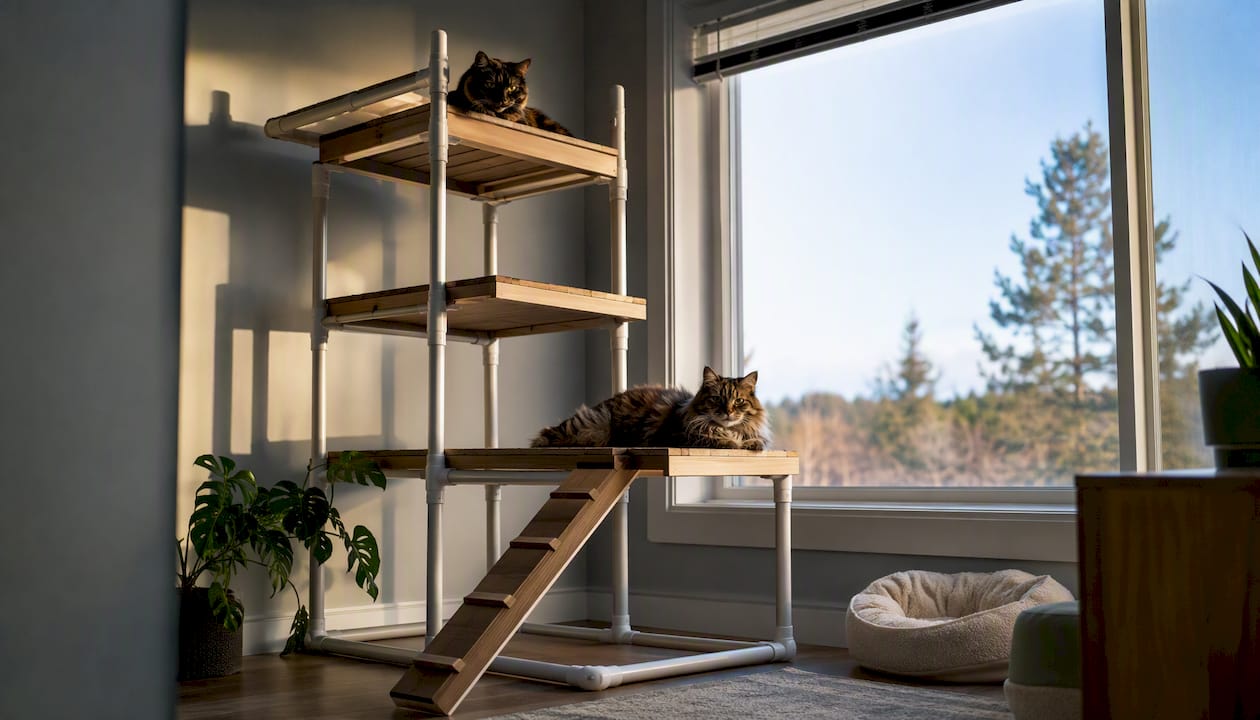
Prioritize verticality over floor area — three staggered platforms at 18", 36", and 54" give each cat a territory tier. Add a ramp or angled perch between levels for older or less agile cats.
For escape prevention, the weak points are almost always the door and the roof. A zip-tie mesh flap is fine for a calm indoor cat, but any cat that has ever bolted outside needs a latched door with no gap at the hinge side. Check the roof attachment at every seam — a cat that finds a loose corner will work it open. For determined escape artists, run a secondary zip-tie line along every mesh seam and test each panel by pulling firmly from the inside.
Multi-cat builds should also include at least two entry/exit points if the enclosure connects to the house, so a lower-ranking cat is never trapped by a higher-ranking one blocking the only door.
What actually goes wrong on first builds
Most first-time catio builders make the same three mistakes, and none of them are about cutting pipe wrong.
The first is trusting plastic garden mesh in a yard with wildlife. It looks fine on day one. By month three, a raccoon has tested every seam and found the weakest one. If there’s any predator risk at all, use welded wire from the start.
The second is underestimating zip ties. A 7’ x 5’ x 3’ enclosure with a roof panel uses 150–200 zip ties when done properly. Builders who buy a bag of 50 end up with loose mesh and gaps. Use Snap Clamps in loose fitting areas.
The third is building wide instead of tall. A 10-square-foot floor with no platforms bores cats within a week. The same materials arranged as a 4-foot-wide tower with three platforms keeps cats engaged for years. Plan for height first, then floor area.
One more thing worth saying: test the whole structure in wind before your cat goes in. Push on every wall, rattle the door, and check that anchors are holding. A frame that shifts under pressure will shift more when a panicked cat hits it at full speed.
Circo fittings and kits for your catio build
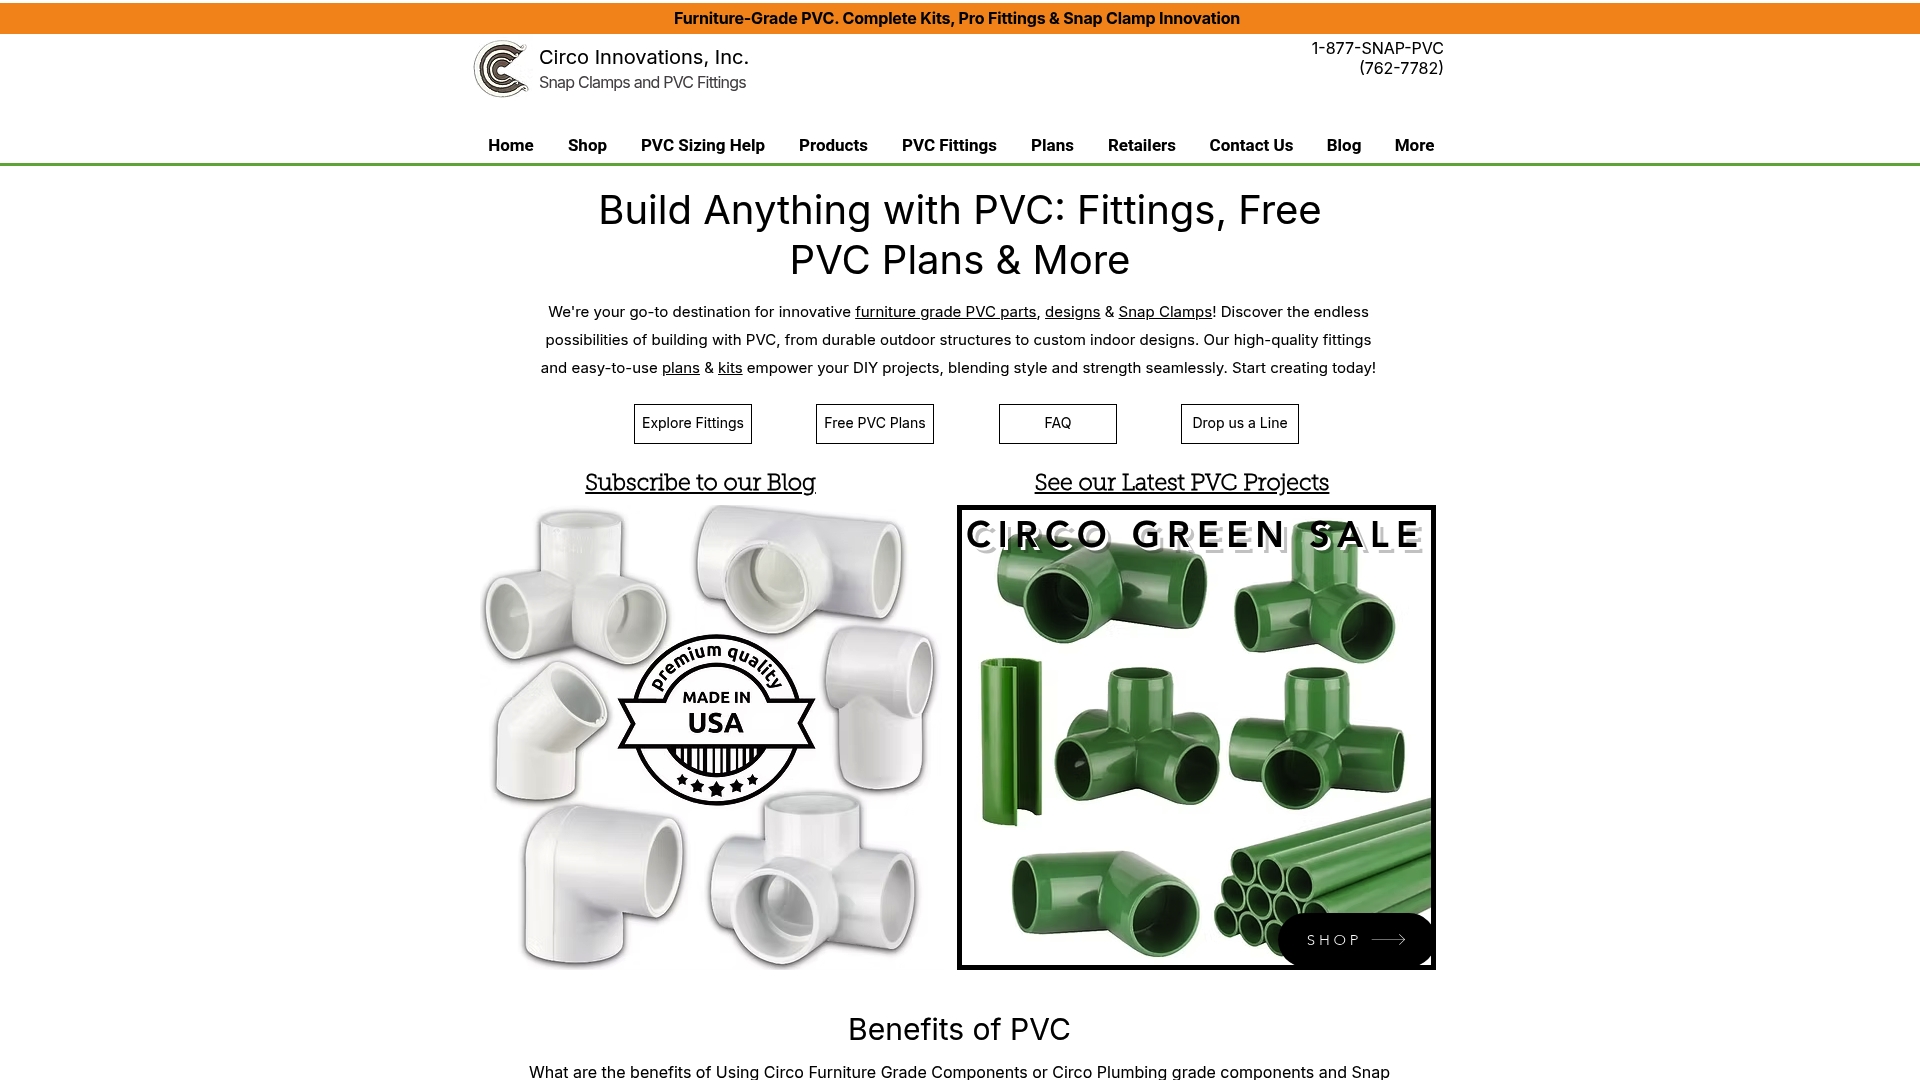
The example cut list in this article maps directly to Circo Innovations’ furniture-grade fitting line. The 3-way elbow corner connectors cover all eight frame corners, the T-fittings handle mid-span bracing and door junctions, and the snap-clamp system handles modular assembly without adhesive. That means you can reconfigure the layout next season or break it down for winter storage without cutting anything apart.
For readers who want to skip the individual part hunt, Circoinnovations bundles fittings into project kits sized for common build footprints. A kit guarantees connector compatibility and cuts the shopping list to one order. Head to the Circo online store to browse fittings, snap clamps, and kits matched to the dimensions in this guide.
Sources
For step-by-step assembly videos and snap-clamp demonstrations, visit the Circoinnovations video resources page.
Recommended


Comments