

Yes, You Can Build a Sturdy PVC Clothes Rack Fast


Yes. A PVC clothes rack is one of the fastest, cheapest storage projects you can knock out in a weekend, and you don’t need a single power tool you don’t already own. The typical build uses 1 inch diameter PVC pipe, six to twelve fittings depending on the design, and costs a low amount in parts. Most single bar versions come together in under an hour once you have your pieces cut, and you can skip glue entirely if you want something you can break down and stash in a closet.

Three starting points cover almost every need:
Single-bar rack: light loads, kids’ clothes, a spare closet, 3 to 4 feet wide.
Double-bar rack: doubles your hanging space for the same footprint, good for seasonal storage.
Heavy-duty rack: wider base, extra uprights, built for coats, blankets, or a full wardrobe.
A portable collapsible version can be built in under an hour for about $10 in materials when you keep the design simple and skip the cement.
Key Takeaways
A budget PVC clothes rack built with 1 inch pipe and friction-fit furniture-grade connectors costs $15 to $50 and takes under an hour to assemble.
Point | Details |
Pick the right diameter | Use 1 inch pipe for most builds; step up only for heavy-duty top bars. |
Choose your joint method | Glue for permanence, friction-fit or self-tapping screws for a portable, collapsible rack. |
Fix sag with supports, not thicker pipe | Add a center upright or shorten the span before upsizing pipe diameter. |
Weight the base for stability | Fill foot pieces with sand or gravel to stop tipping without changing the design. |
Buy fittings built for the job | Circo Innovations sells furniture-grade connectors and pipe made for glue-free garment racks. |
Table of Contents
What Materials Do You Need for a PVC Garment Rack?
Grab 1 inch diameter Schedule 40 PVC pipe. It’s the sweet spot for garment racks: light enough to move, rigid enough to hold real weight without a noticeable sag across a normal span. If you’re planning a heavy-duty rack for coats or a rack that’ll live in a garage and take abuse, step up to 1.25 inch pipe for the top bar only, keeping the base at 1 inch to save weight.
For fittings, plan on:
Tee fittings for the base corners and where uprights meet the frame
Elbow fittings for the top frame corners
End caps on every exposed pipe end
Cross-brace pipe if you’re going wider than 4 feet
Side Saddle Tee for adding a cross member tee without cutting the pipe!
Furniture-grade connectors instead of standard plumbing fittings if you want a tighter, more finished fit
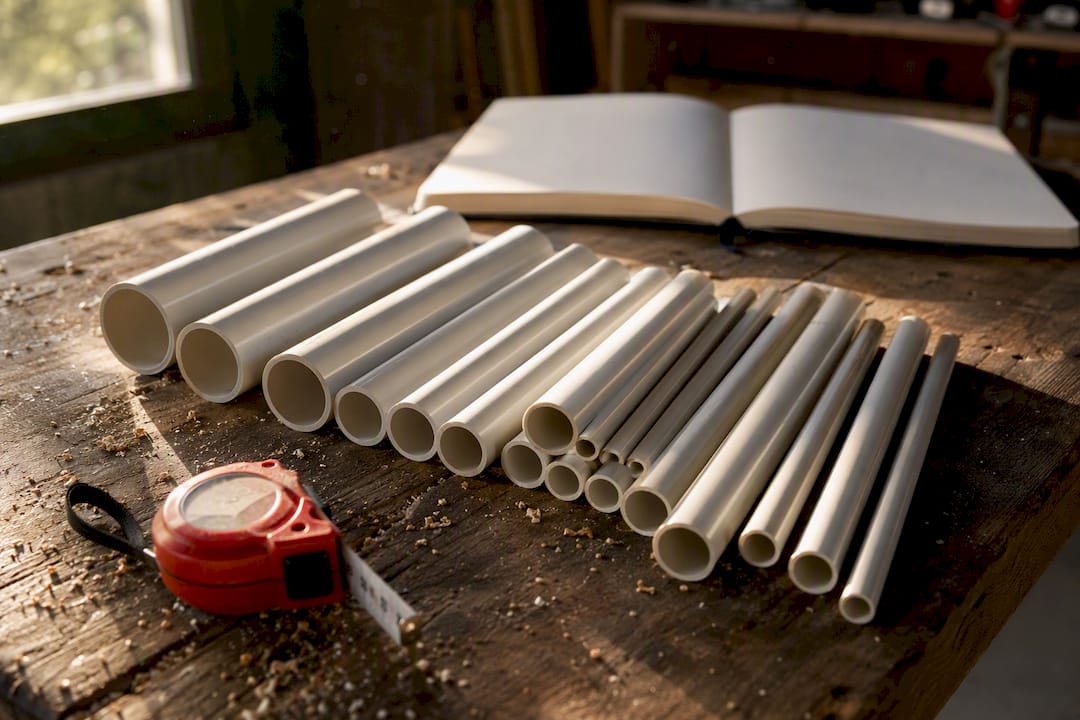
Tools are minimal: a PVC cutter or hacksaw, a tape measure, a marker, and sandpaper for the cut edges. Keep a bag of sand or pea gravel handy too, in case you build weighted feet later. Measuring your space and garment lengths before you buy anything saves you from cutting twice.
Pro Tip: Skip the plumbing aisle fittings if you want this to look like real furniture instead of a hardware project. Circo Innovations furniture-grade connectors are made specifically for this kind of build, and they snap together snug enough that you often don’t need cement at all.
How Do You Size a PVC Clothes Rack for Your Space?
Here are three cut lists to start from. Adjust the width to your closet or corner, but keep the logic: shorter spans hold more weight without sagging.
The single-bar plan is your cheapest and fastest build. The double-bar adds a second horizontal bar a foot below the top one, which roughly doubles hanging capacity without adding much material cost. The heavy-duty plan adds a center upright under the top bar, which matters more than switching to thicker pipe once you’re hanging coats or blankets.
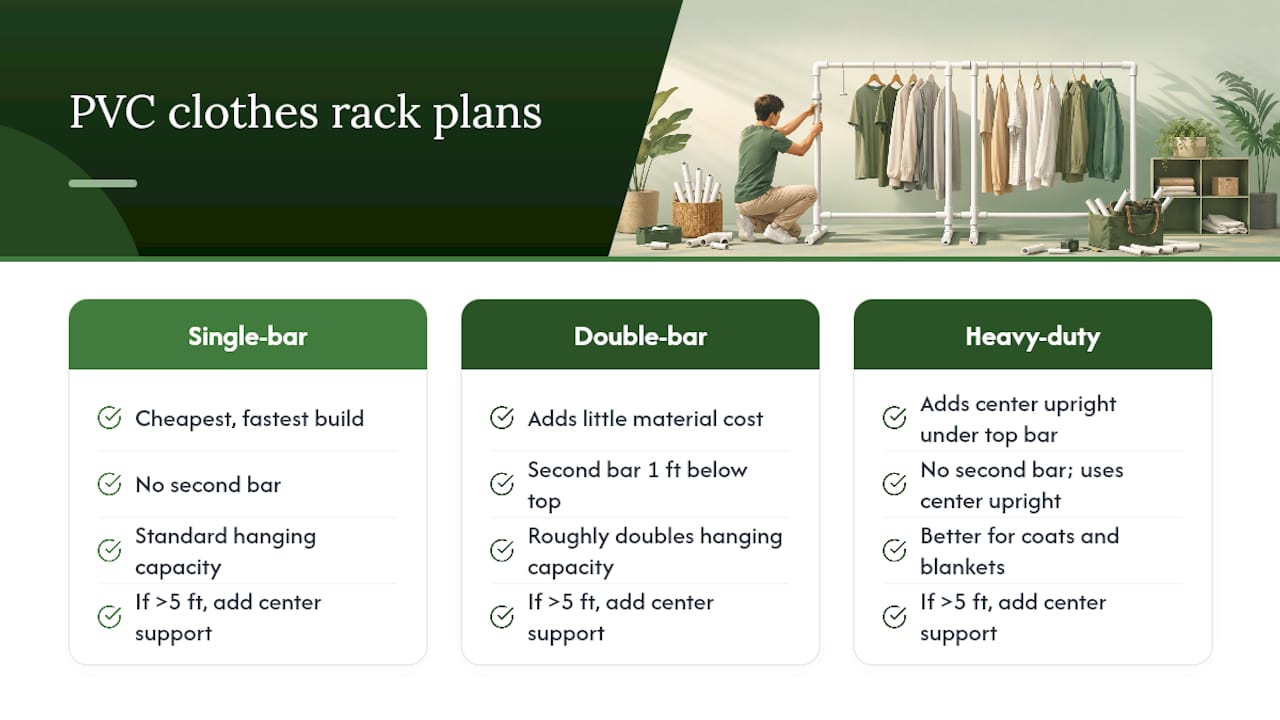
If you widen any of these past 5 feet, add a center support instead of stretching the span. The common assembly pattern is a rectangle base with corner tees, uprights sliding into those tees, and a matching top frame built from elbows. Sketch your version on paper before cutting. A quick diagram, even a rough one, prevents the most common mistake: cutting a piece an inch short and having to start over.
How Do You Assemble a PVC Clothes Rack Step by Step?
Dry-fit everything before you commit to glue or even snap connectors. Lay every piece on the floor in its final position first.
Cut all pipe to length, then deburr and lightly sand each cut edge.
Assemble the base rectangle using four tees at the corners.
Insert the uprights into the base tees.
Build the top frame separately using elbows at the corners.
Slide the top frame onto the uprights and check it sits level.
Add the crossbar or second bar if you’re building the double-bar version.
Cap every open pipe end.
Whether you glue the joints comes down to how you’ll use the rack. Cement makes every joint permanent and slightly stiffer under load, which matters for a rack that’s staying put in a closet for years. Friction-fit, or snap-style furniture connectors, keep every joint removable, which matters more if you’re moving apartments soon or want to break the rack down for storage.
A few things to keep in mind while you work:
Wear eye protection when cutting pipe, especially with a hacksaw.
Work in a ventilated space if you’re using cement or spray paint.
Take a photo after each step. It’s the cheapest insurance against forgetting which fitting goes where on your next build.
How Much Weight Can a PVC Clothes Rack Hold?
Add clothes gradually and watch the top bar. A slight bow under a full load of coats is normal; a bow that doesn’t spring back when you remove weight means the span is too long for that pipe diameter. The fix isn’t always thicker pipe. Adding an extra vertical support or shortening the span usually solves it for less money and less weight added to the whole structure.
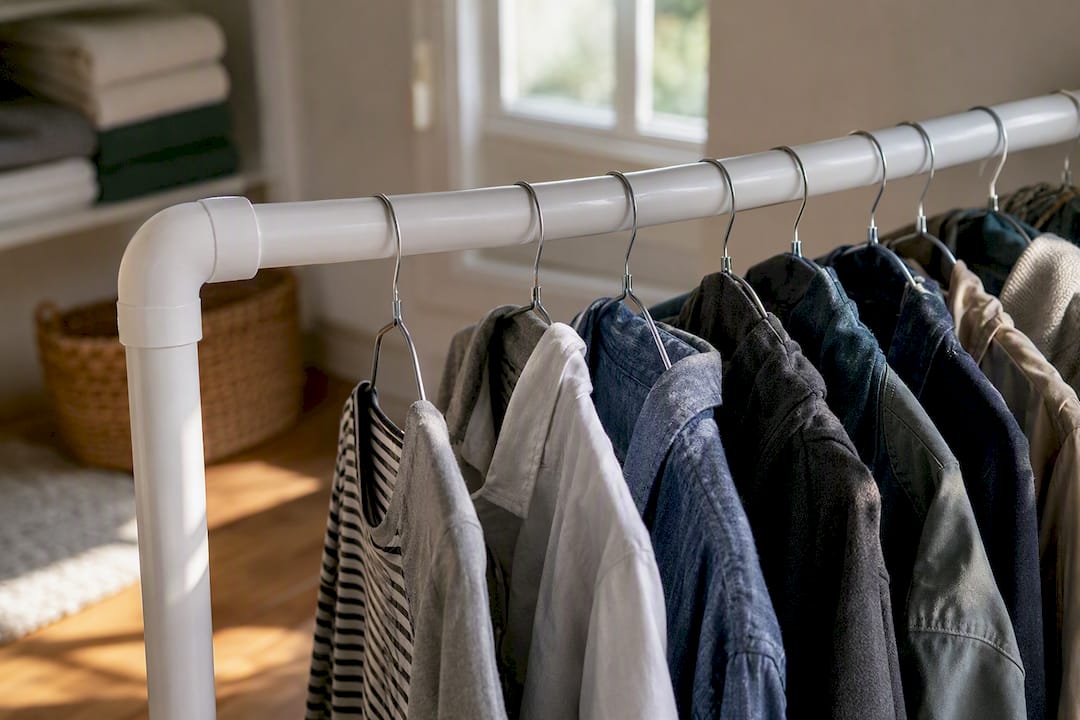
Wet laundry hangs heavier than dry, so don’t test a new rack’s limits with a load straight out of the wash.
Pro Tip: If your rack feels tippy rather than saggy, the fix is different: fill the base feet with sand or pea gravel to drop the center of gravity. It’s a five-minute fix that solves most wobble complaints without changing how the rack looks.
Can You Make a PVC Clothes Rack Collapsible?
Skip the cement entirely and rely on friction-fit joints or snap clamps, and your rack disassembles into a stack of short pipe sections in under five minutes. Use shorter individual segments rather than a few long ones, since that’s what actually determines your packed footprint.
Bag the small fittings together and label which bag goes with which pipe length. Leave end caps attached during transport. They protect the cut edges and keep dust out of open pipe ends while the rack sits in a trunk or closet between uses.
How Much Does a DIY PVC Clothes Rack Cost to Build?
A basic single-bar friction-fit rack runs $15 to $25 in parts, with most of that going to fittings rather than pipe. A double-bar or heavy-duty version with furniture-grade connectors lands closer to $35 to $50. Cutting and dry-fitting takes the bulk of your time; a simple friction-fit build can be finished start to finish in under an hour.
Buy pipe by the full 10-foot length rather than pre-cut pieces, and save offcuts for your next project. A kit costs a bit more upfront but removes the guesswork on fitting counts.
How Do You Finish and Safety-Check a PVC Clothes Rack?
Sand every cut edge smooth and cap it, both to protect your hands and to keep fabric from snagging. If you want color, outdoor-rated spray paint applied in a ventilated space gives a cleaner, more even coat than acrylic paint brushed on by hand. Add rubber pads or anti-slip feet under the base to protect flooring and stop the rack from sliding when you load or unload it.
Where Can You Find PVC Clothes Rack Plans and Parts?
Downloadable plans as PDF or SketchUp files give you exact measurements before you buy anything, which beats guessing at a hardware store aisle. Circo Innovations’ plan library covers several rack configurations with parts lists included.
For the pipe itself, most hardware stores will cut it to length on request, which saves you a step and improves precision if you don’t own a PVC cutter. For fittings, furniture-grade connectors and kits hold up better than standard plumbing parts and usually snap together without cement.
Why PVC Beats the Alternatives for a Budget Rack
PVC wins on cost, weight, and corrosion resistance. Nothing rusts, nothing rots, and a full frame weighs a fraction of what a metal one does. Reach for metal or a premade rack only when you need permanent, heavy-duty capacity for a commercial setting or years of daily abuse a $20 pipe frame was never meant to handle.
Build Your Rack Right the First Time
Once you know your cut list, the parts you choose make or break the finished product. Standard hardware-store tees and elbows work, but they’re built for plumbing under a wall, not for a rack you’ll load and unload daily. Circo Innovations makes furniture-grade fittings and snap clamps specifically for projects like this, so joints snap together snug and stay that way without cement.
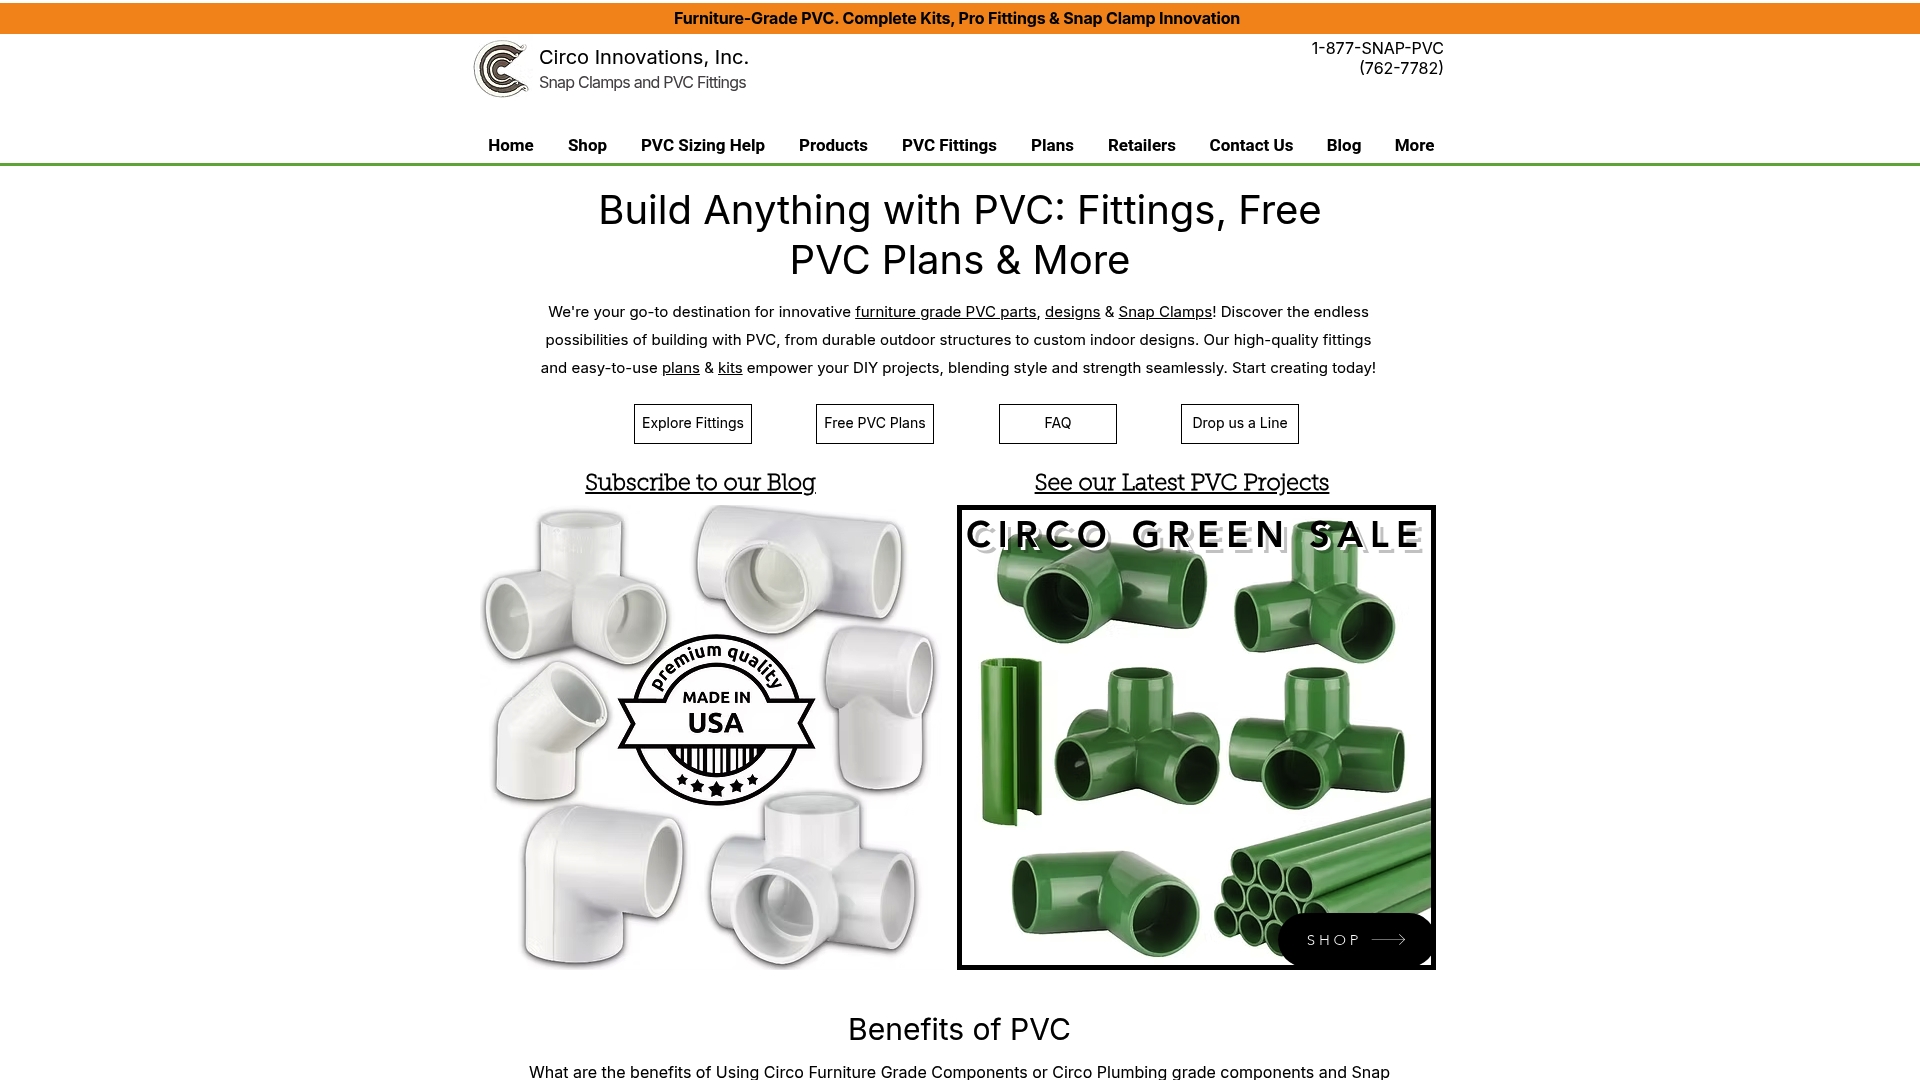
If you’re building the double-bar or heavy-duty version, adjustable fittings let you change bar height later without cutting new pipe. For a first build, the Circo kits bundle the right connector counts so you’re not guessing how many tees to buy. Browse the Circo Direct store for parts, or grab a free plan first and shop from your cut list.
Sources
Recommended


Comments